



Install and activate LensNode
- Sign in to your Video Village Account and find your LensNode license page.
- Download the Video Village Plugins app.
-
On the license page, select
Activate on this deviceto launch the Video Village Plugins app and install your license automatically. - In the Video Village Plugins app, select
Final Cut, then selectInstall. (Final Cut Pro must not be running during installation.)
Add LensNode to a clip
- Select a clip in the timeline. To affect several shots at once, choose
Edit → Add Adjustment Clipand extend it above those shots. - Choose
Window → Show in Workspace → Effects(or pressCommand-5) to open the Effects browser. - Select
AllunderVIDEO, then typeLensNodein the search field at the bottom of the browser. - Drag the LensNode effect thumbnail onto your clip or adjustment clip in the timeline.
- Select that clip, choose
Window → Show in Workspace → Inspector(or pressCommand-4), then click theVideobutton at the top of the inspector to access the plugin controls.
Keep LensNode after any technical input conversions and after any creative corrections, but before your conversion to your final output color space or film emulation.
Set your input color space
LensNode works best when the Input Color Space setting matches the footage or working space of the footage it receives. Camera log or linear spaces are ideal, with Rec.709 available for an approximate result.
Pick a lens and shape the look
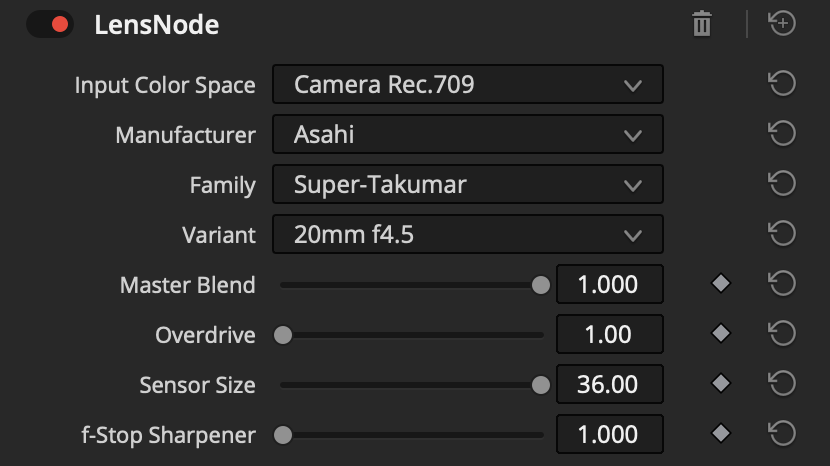
Choose a lens with the Manufacturer, Family, and Variant dropdowns, balance the overall strength with Master Blend and Overdrive, and fine-tune each characteristic in Individual Controls. The full guide explains every parameter.
 Made in California