


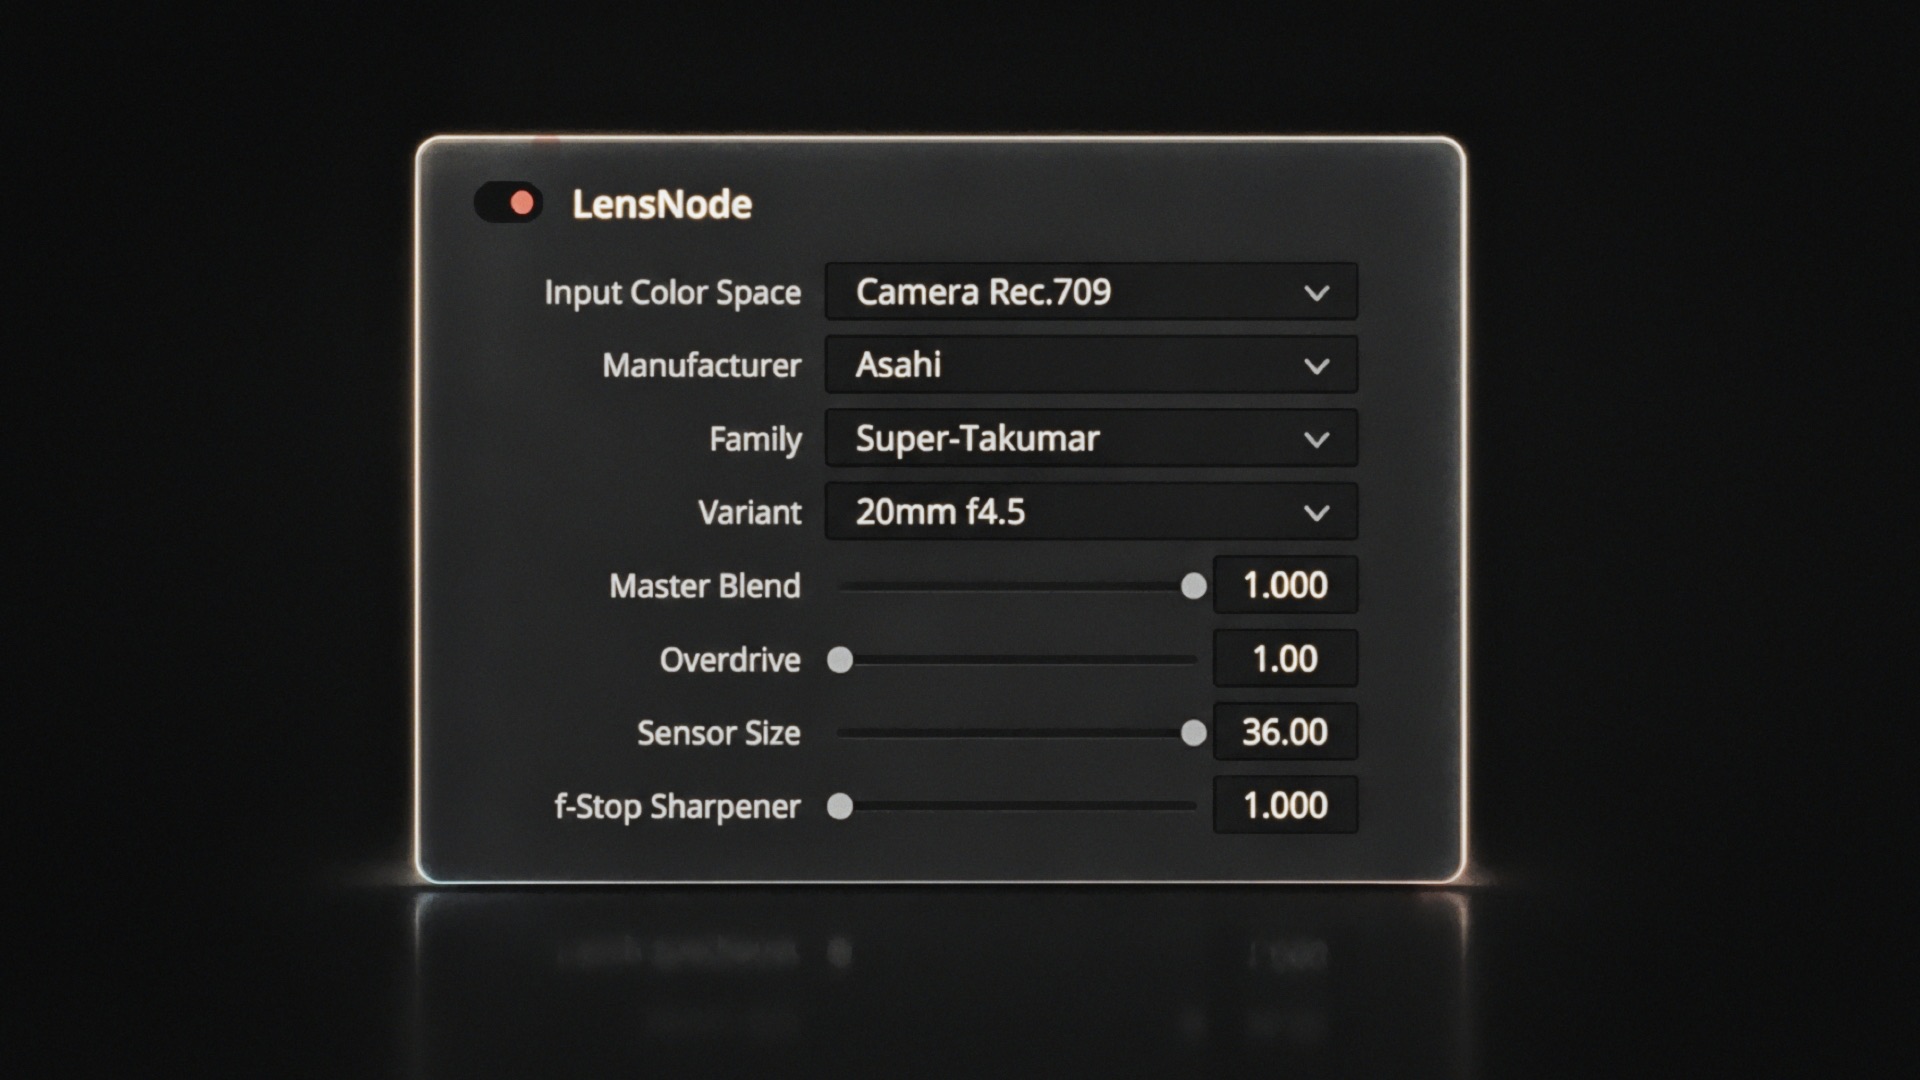
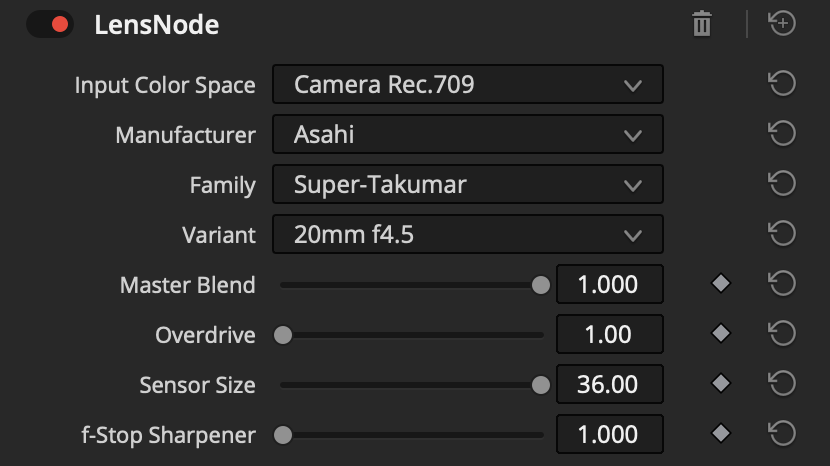
LensNode presents a single panel of top-level parameters followed by a set of collapsible subsection folders. This page is a map of the whole interface; each parameter links to a dedicated article with the full detail.
Input Color Space
Set this to the color space of the footage being received by LensNode. Best results come from either camera log inputs or linear spaces. See Input Color Space.
Lens Selection
The Manufacturer, Family, and Variant dropdowns set the lens profile you want to use. See Lens Selection.
Master Blend
An overall gain slider that fades some effects and scales the magnitude of others. Turn it down to reduce the overall effect LensNode is having on the image.
Overdrive
Increase this to exaggerate the strength of all effect layers at once. It extrapolates beyond the captured lens profile and makes the overall effect a lot stronger. See Master Blend & Overdrive.
Sensor Size
Simulate using the chosen lens on a different sensor size in millimeters. Effectively scales every effect up or down. See Sensor Size.
f-Stop Sharpener
Reduces LensNode’s effect on the center of the image. See f-Stop Sharpener.
Individual Controls
A set of gain controls, one for each of the eight effects being run. Turn them up to increase an effect, down to reduce it. See Individual Controls.
Mix & Match
Swap the characteristics from different lens profiles around to build your own lens profile. See Mix & Match.
Settings & Quality
This section contains creative and technical settings for advanced usage. See Creative Settings and Technical Settings.
Help
Buttons to view the user guide, manage your license, check your version, and get to the Video Village website. See Help.
 Made in California