


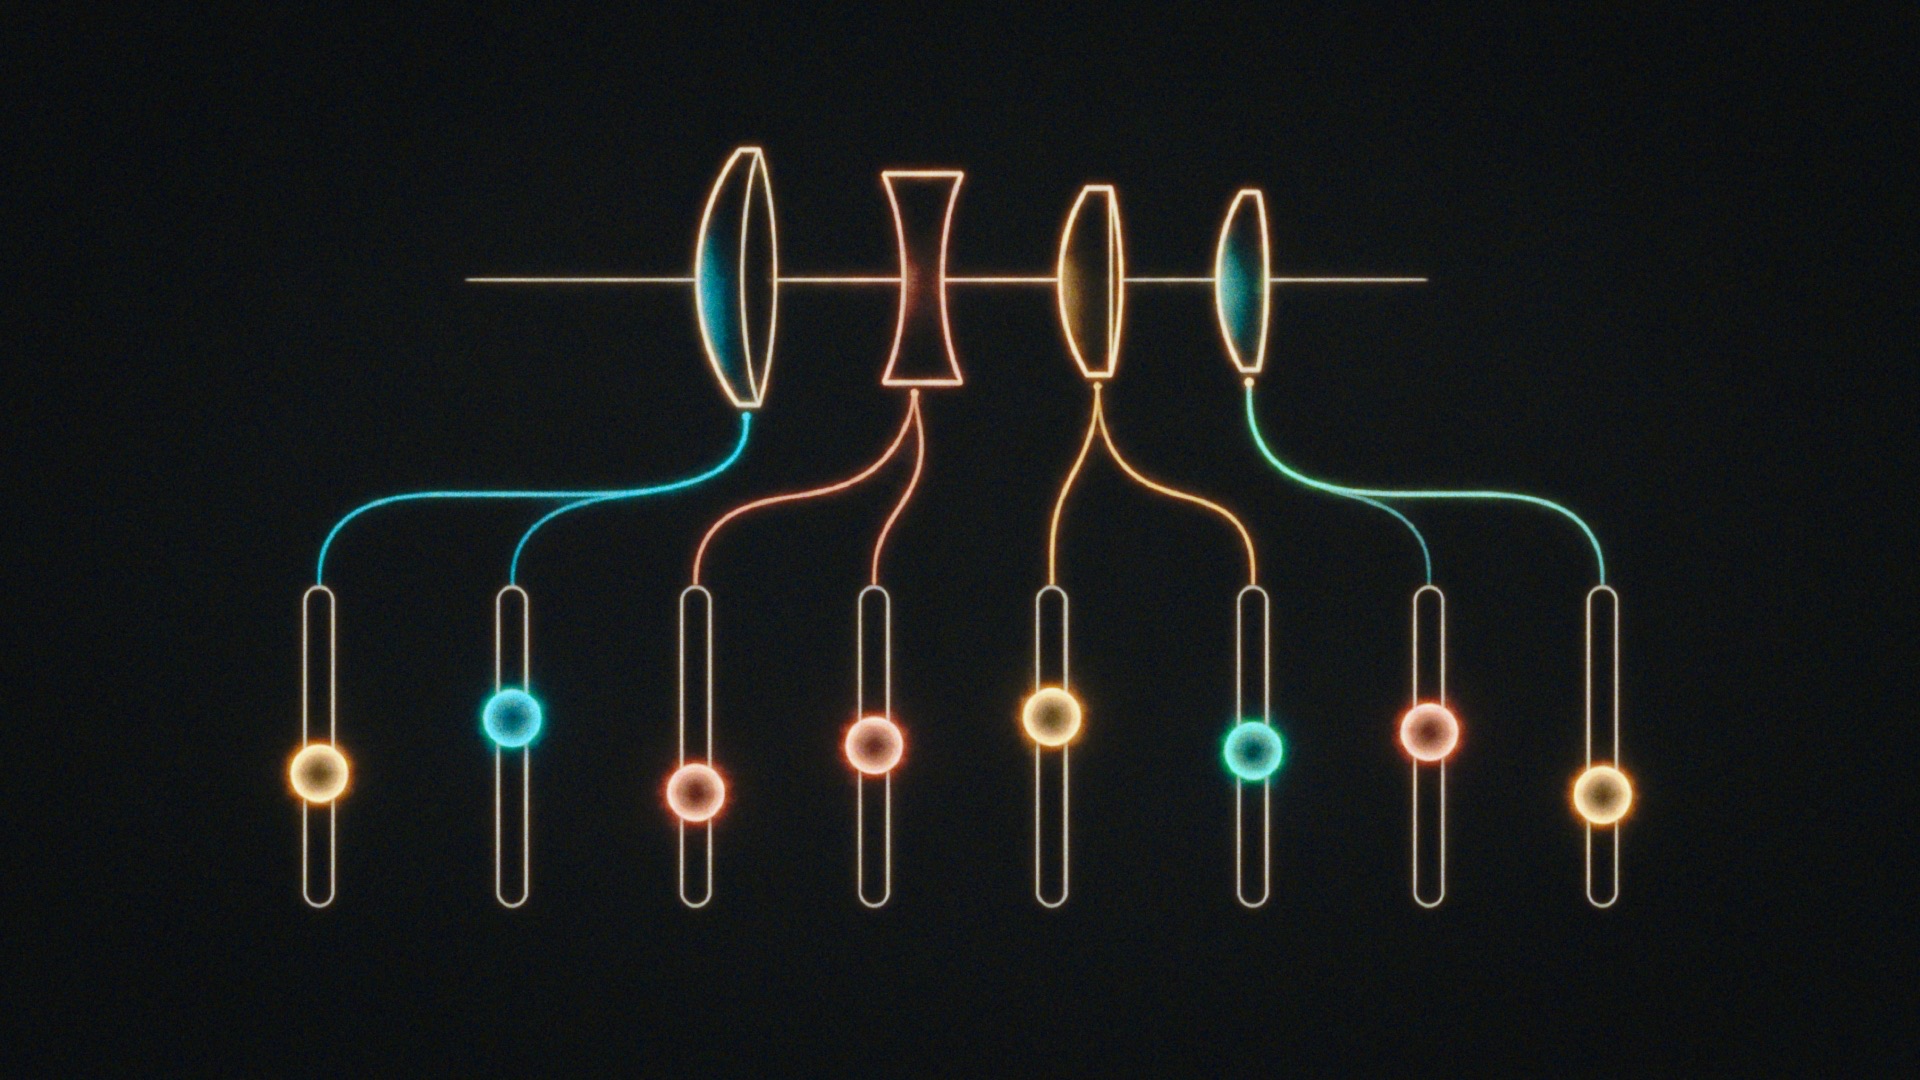
LensNode runs a series of 8 main effects, and the Individual Controls menu gives you a gain slider for each one. Under the hood, these are custom shaders doing things that aren’t possible with Resolve’s standard built-in effects. LensNode is essentially its own mini compositor, producing results closer to what an experienced VFX artist building a lens simulation might achieve.
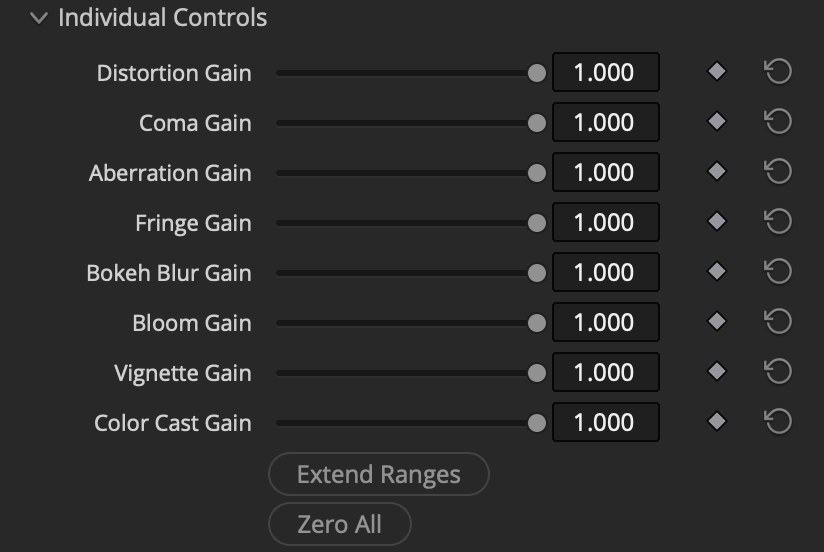
Individual Controls gain sliders
Each effect has a gain slider. Turn it up to increase that effect, and down to reduce it. Each characteristic can also use a different lens profile. See Mix & Match for more on how to swap individual characteristics.
Slider ranges
At the bottom of this section are two buttons. The Extend Ranges button extends the sliders past the standard 0-1 range up to 0-10. The Zero All button sets all sliders to 0 so you can build a look from scratch.
Gain slider behavior
Setting a gain slider to 0 bypasses that effect’s GPU shader and can speed up performance. Pushing a gain slider above 1 acts like an individual overdrive. The Extend Ranges slider is a UI shortcut, but values above 1 can be typed in regardless of whether the ranges are extended or not.
The 8 characteristics
The effects interact with one another in an organic, believable way:
- Distortion - industry standard two-term radial distortion.
- Coma - directional blooming and smearing, also known as Comatic Aberration.
- Chromatic Aberration - dynamic splitting of color channels across the image and some advanced blurring.
- Fringing - colored fringing in high-contrast areas.
- Bokeh Blur - a lens blur using real bokeh shapes.
- Bloom - a realistic scattering of light that creates a blooming glow effect.
- Vignette - a natural exposure falloff towards the edges of the image, as well as image circle simulation.
- Color Cast - a color shift that varies across the frame.
Distortion
Distortion is an industry standard two-term radial distortion, the same kind you’d see in compositors such as Nuke or Fusion. The amount of distortion in a lens profile is determined by the distortion data captured from the real lens.
Distortion can be dialled up and down, as well as animated. By default the image is automatically scaled to fill the frame so stretched edges are hidden. This can be toggled with the Scale to Frame setting in Technical Settings, which you should turn off if you’d rather handle edge compensation yourself or want a smoother distortion animation.
Coma
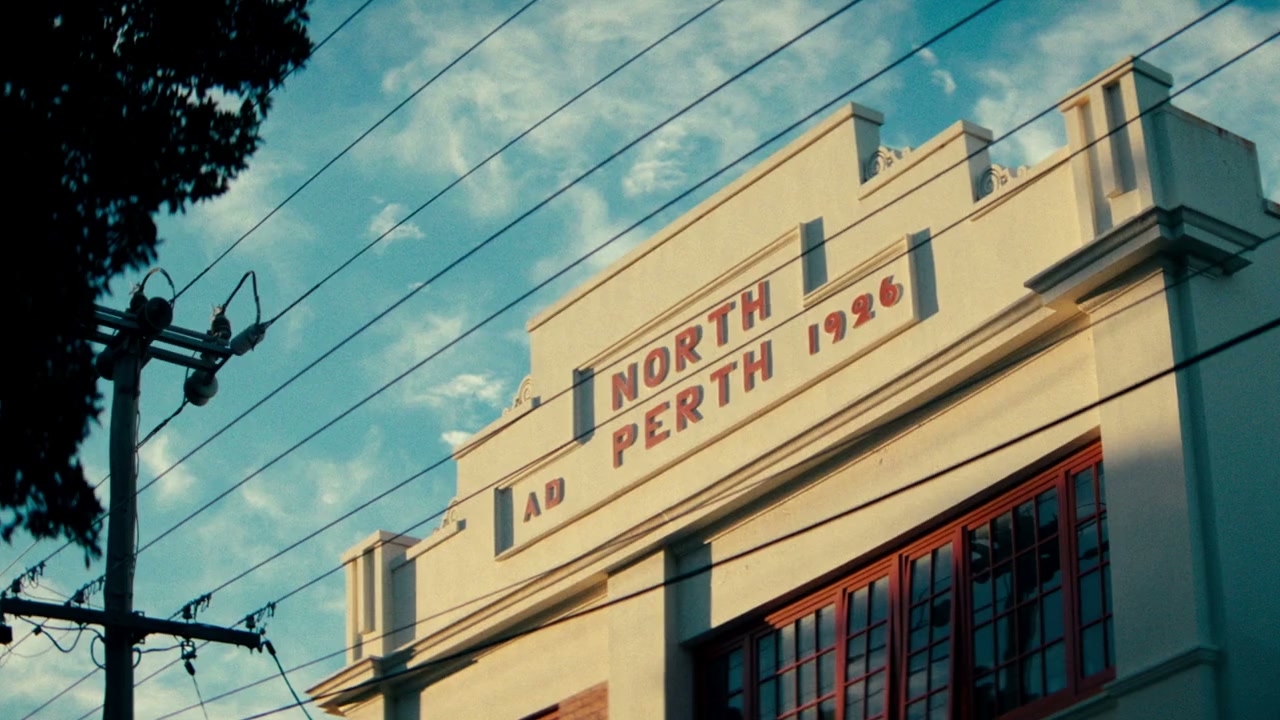
Coma is short for Comatic Aberration. It’s effectively a blooming and smearing of the image, with a direction and intensity that can vary from the center of the frame to the edges.
Coma is a key part of the look of many vintage and cinema lenses, blurring, smudging, and smearing the image in directions that change based on position. LensNode reproduces this using the unique shapes and hues captured from real lenses.
Chromatic Aberration
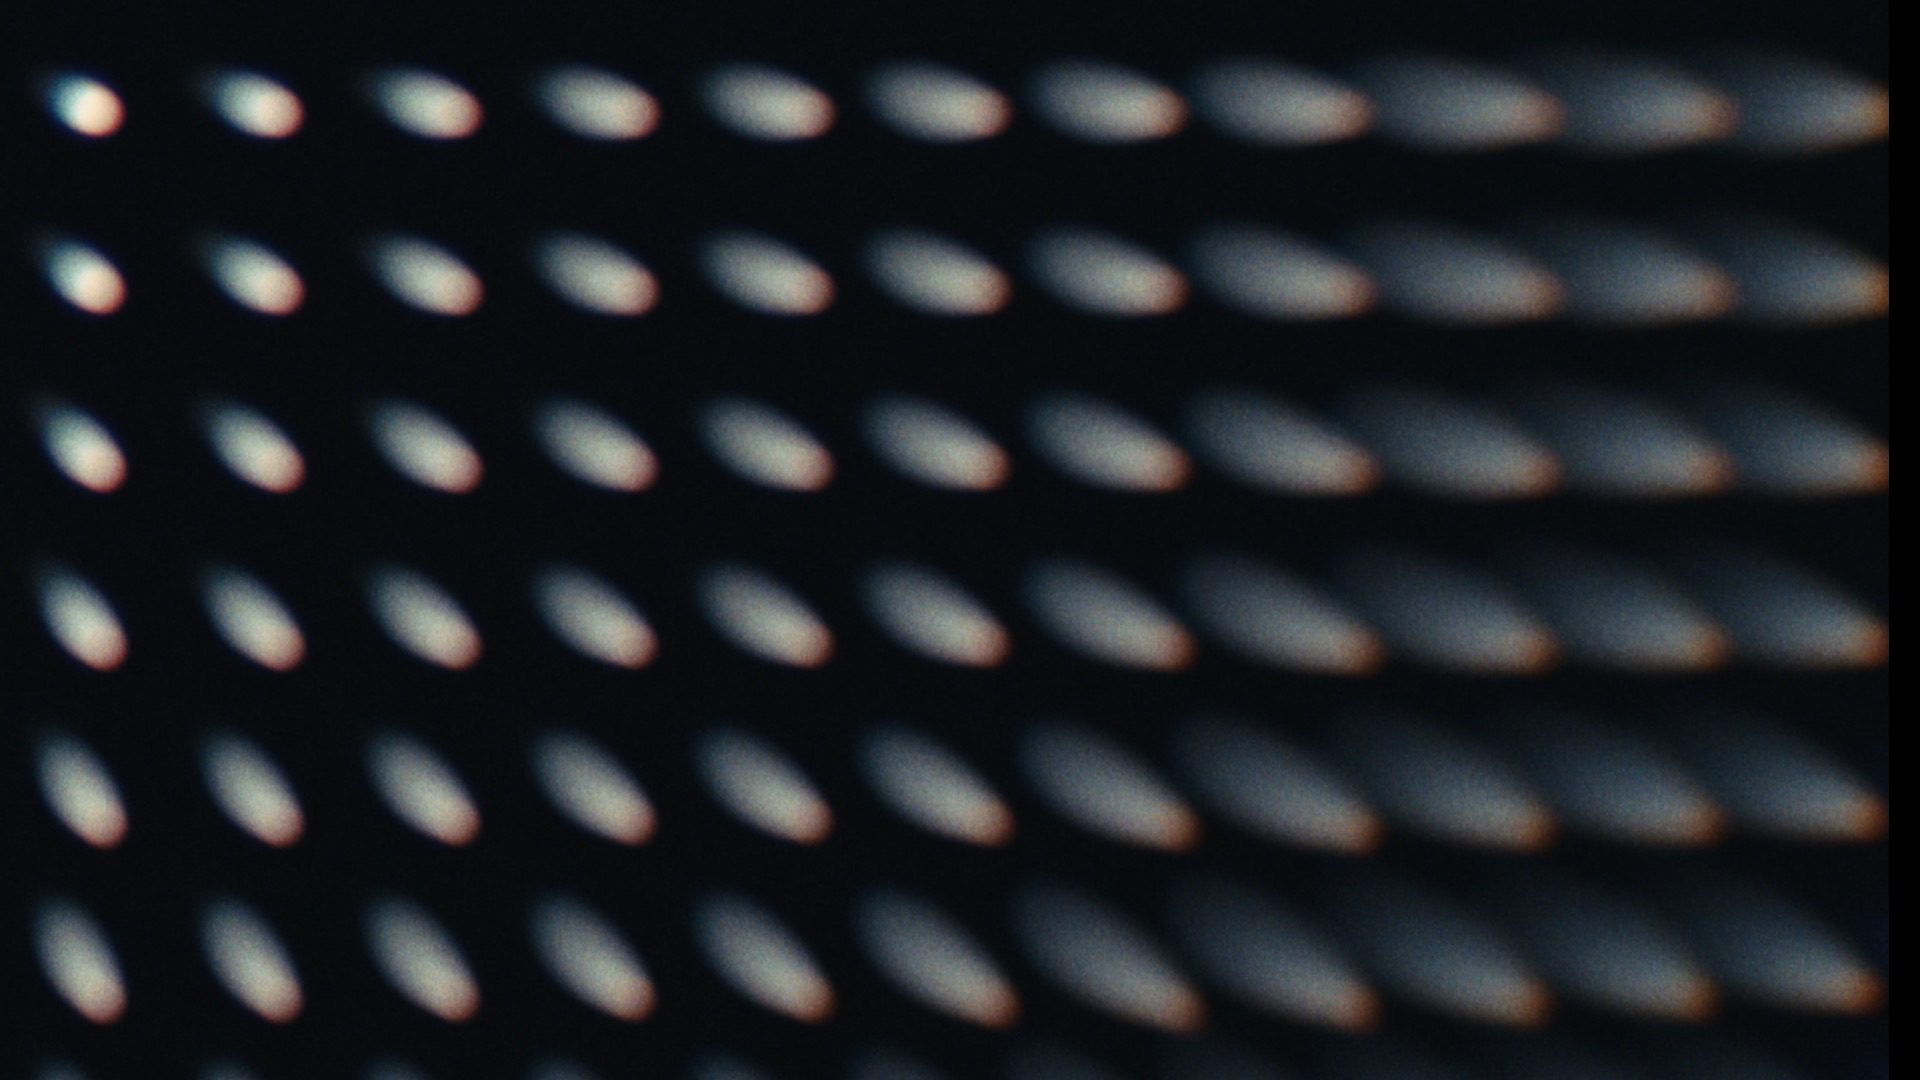
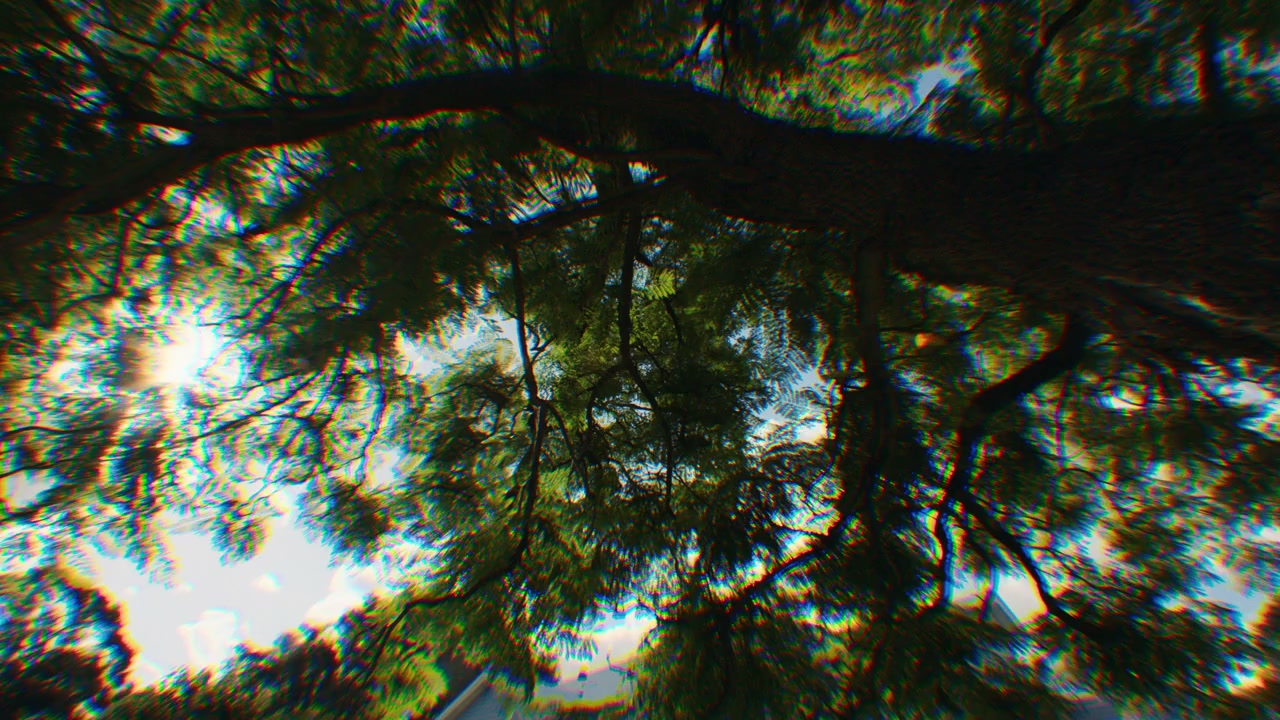
Chromatic Aberration is a splitting of the color channels. LensNode does it in a more pleasing and complex way than a traditional RGB channel transform.
Notably, it’s accurate to the real lens from the center to the edges: the separation shifts across the frame the way it does on a real lens, rather than just a uniform offset of RGB channels. If the aberration ever looks “steppy” or not smooth, raise Aberration Max Steps in Technical Settings.
Fringing
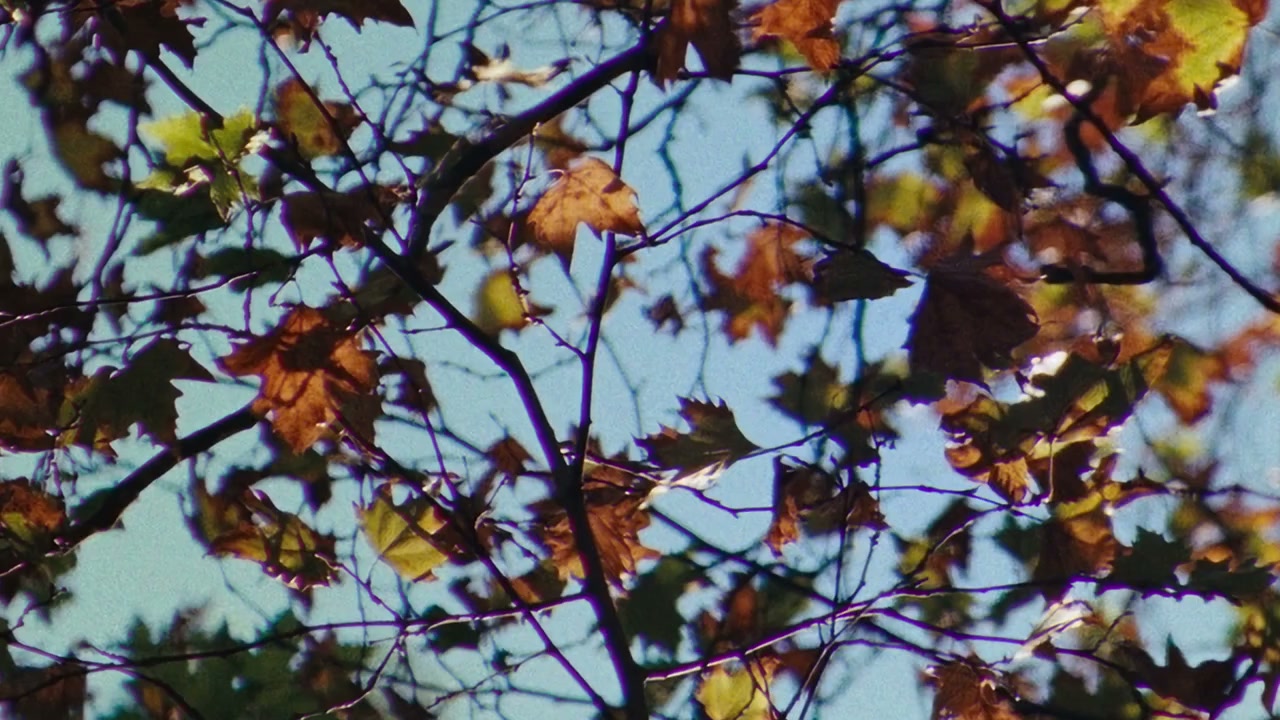
Fringing is a colored fringe seen in high-contrast areas of the image, usually edges near bright highlights.
In LensNode, the fringe’s hue, intensity, and softness can all vary from the center of the image to the outside of it, matching the way real lenses may fringe more strongly in the center or at the edges.
Bokeh Blur
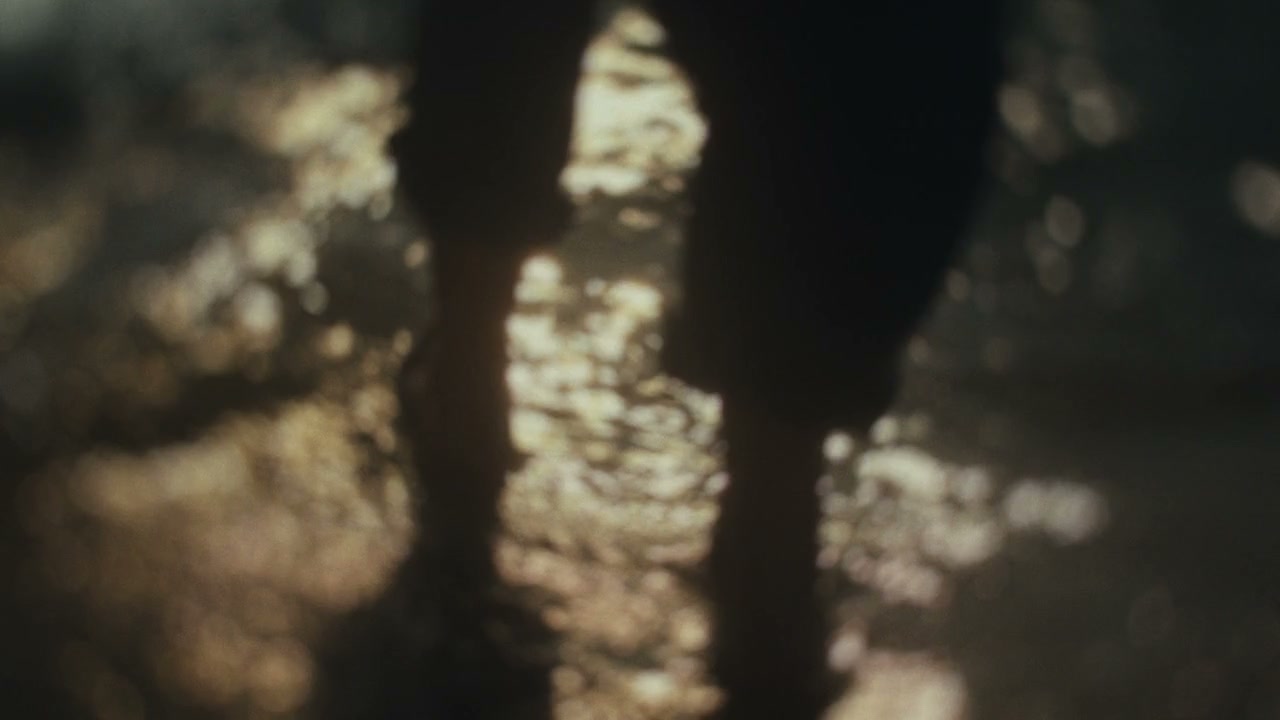
Bokeh Blur is a lens blur that uses the actual bokeh shapes captured from the real lens. It varies across the image in intensity from the center to the edges, blurring the areas that were blurry on the real lens when it was in focus on a chart during the profiling process.
Two settings in Creative Settings interact with it:
- Bokeh Swirl squishes and stretches the bokeh shape to make it look more (or less) swirly, and at negative values causes the bokeh to stretch towards the center of the image. It’s easiest to see these changes with Bokeh Blur overdriven.
- Depth Gain only works when a depth map is supplied to LensNode, which then determines where the blur is applied and by how much. When no depth map is attached, increasing this setting adds blur to the entire image.
Bloom
Bloom is a glow effect designed to closely replicate the exponential light falloff seen in the blooming of real lenses. It gives highlights a realistic softness and contrast.
When you’re working in log or with over-range linear images, the bloom algorithm can occasionally produce strange results when very bright values are supplied. If that happens, set Bloom Clipping Repair in Technical Settings to the brightest linear value in the image to bring the simulation back to its expected appearance.
Vignette
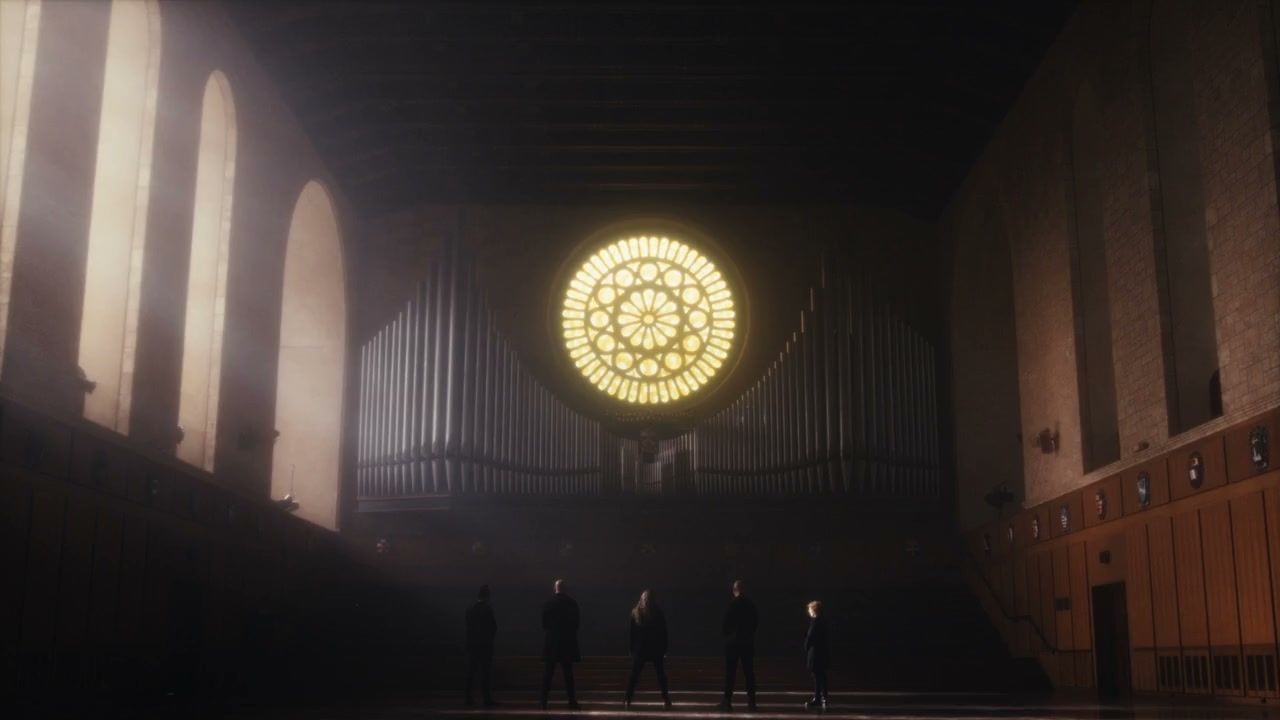
Vignette reproduces the corner exposure falloff of a real lens. Rather than a generic darkening like a power window would provide, it’s based on how a real vignette actually looks when the lens is wide open, and it rolls off in a natural, technically accurate and believable way toward the edges of the frame.
Because most of the time LensNode is used on footage that may already have its own vignette, and because LensNode’s vignettes are captured from real lenses against a white background, it’s generally preferable to turn this setting down a bit to avoid doubling up on lower exposure at the edges of the frame. If you want to set a default for this setting, see the User Defaults section in Technical Settings.
Color Cast
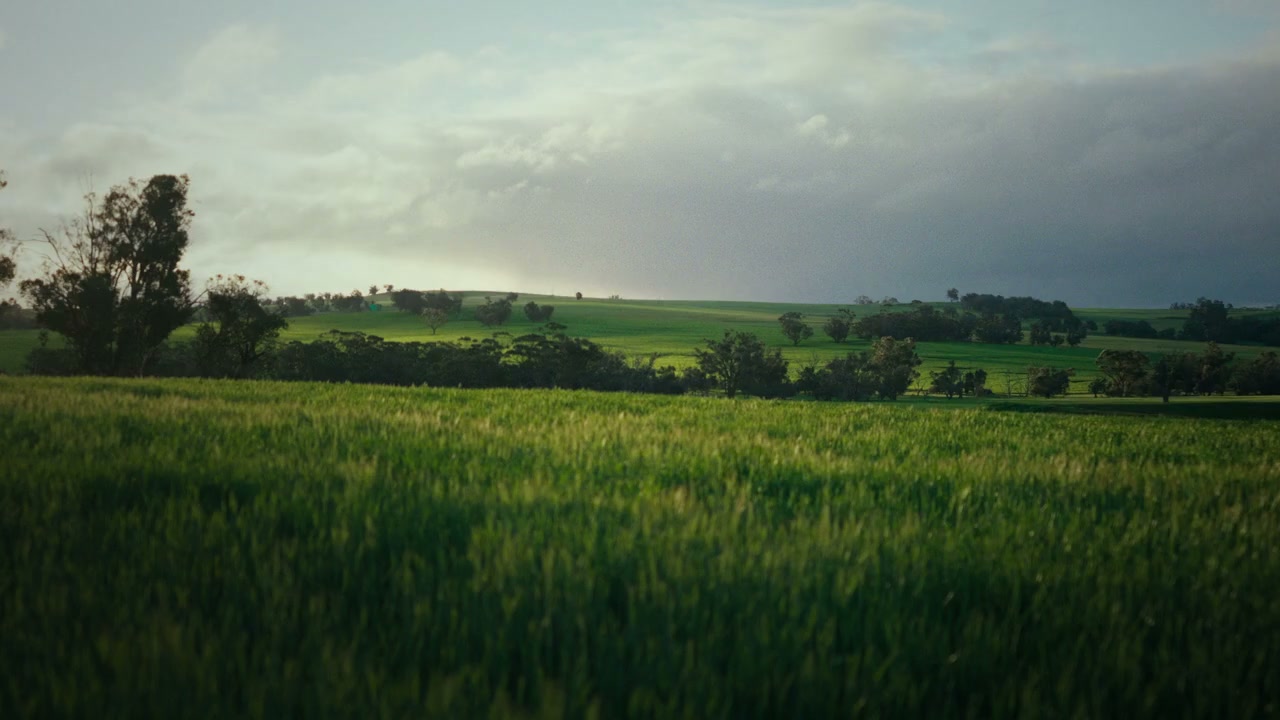
Color Cast is a color shift taken from the real lens, based on how far off the color was compared to a control lens during profiling. The shift varies from the center of the frame to the edges rather than tinting the whole image uniformly, making it accurate to the real lens it was captured from.
As with Vignette, this cast has been captured for accuracy and included with the profiles, but it’s common for users to want it turned down or off entirely so it doesn’t interfere with their grading process. If you want to set a default for this setting, see the User Defaults section in Technical Settings.
 Made in California