



Lens Whack
Creatively named after a real-world technique where the camera lens is completely detached from the camera body and shifted around relative to the camera sensor, this setting allows the user to shift the center point of LensNode’s effects along the X and Y axis. It doesn’t create flaring or veiling, it just offsets everything LensNode is doing to the image. This can also be animated.
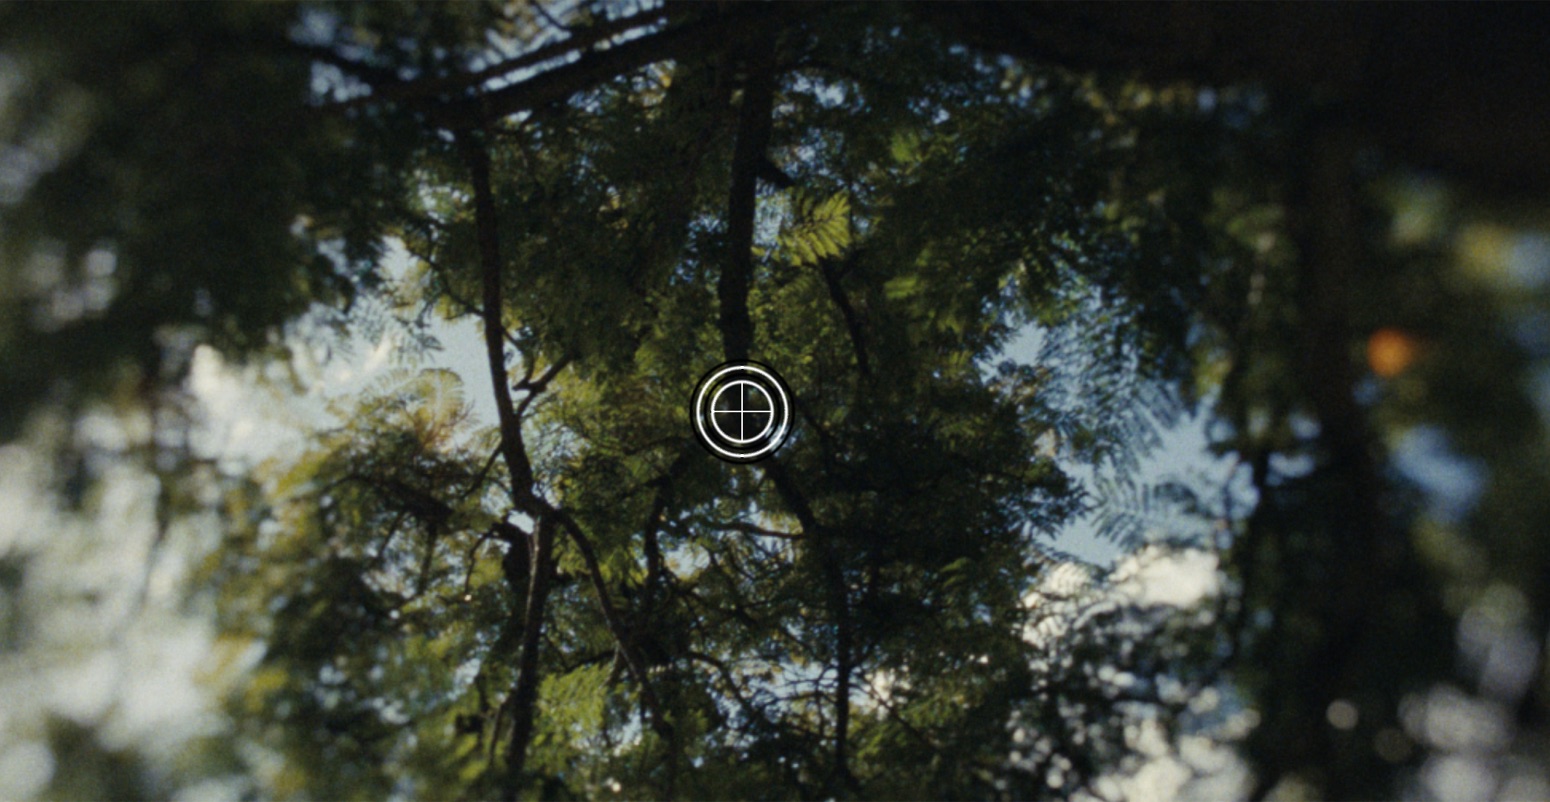
When LensNode is selected, an overlay for the Lens Whack setting will also display over the image in the form of a small black and white target. This can be clicked and dragged around, and will snap back to the center when dragged near to it.
Host differences: this behaves differently in Adobe.
Bokeh Brightness
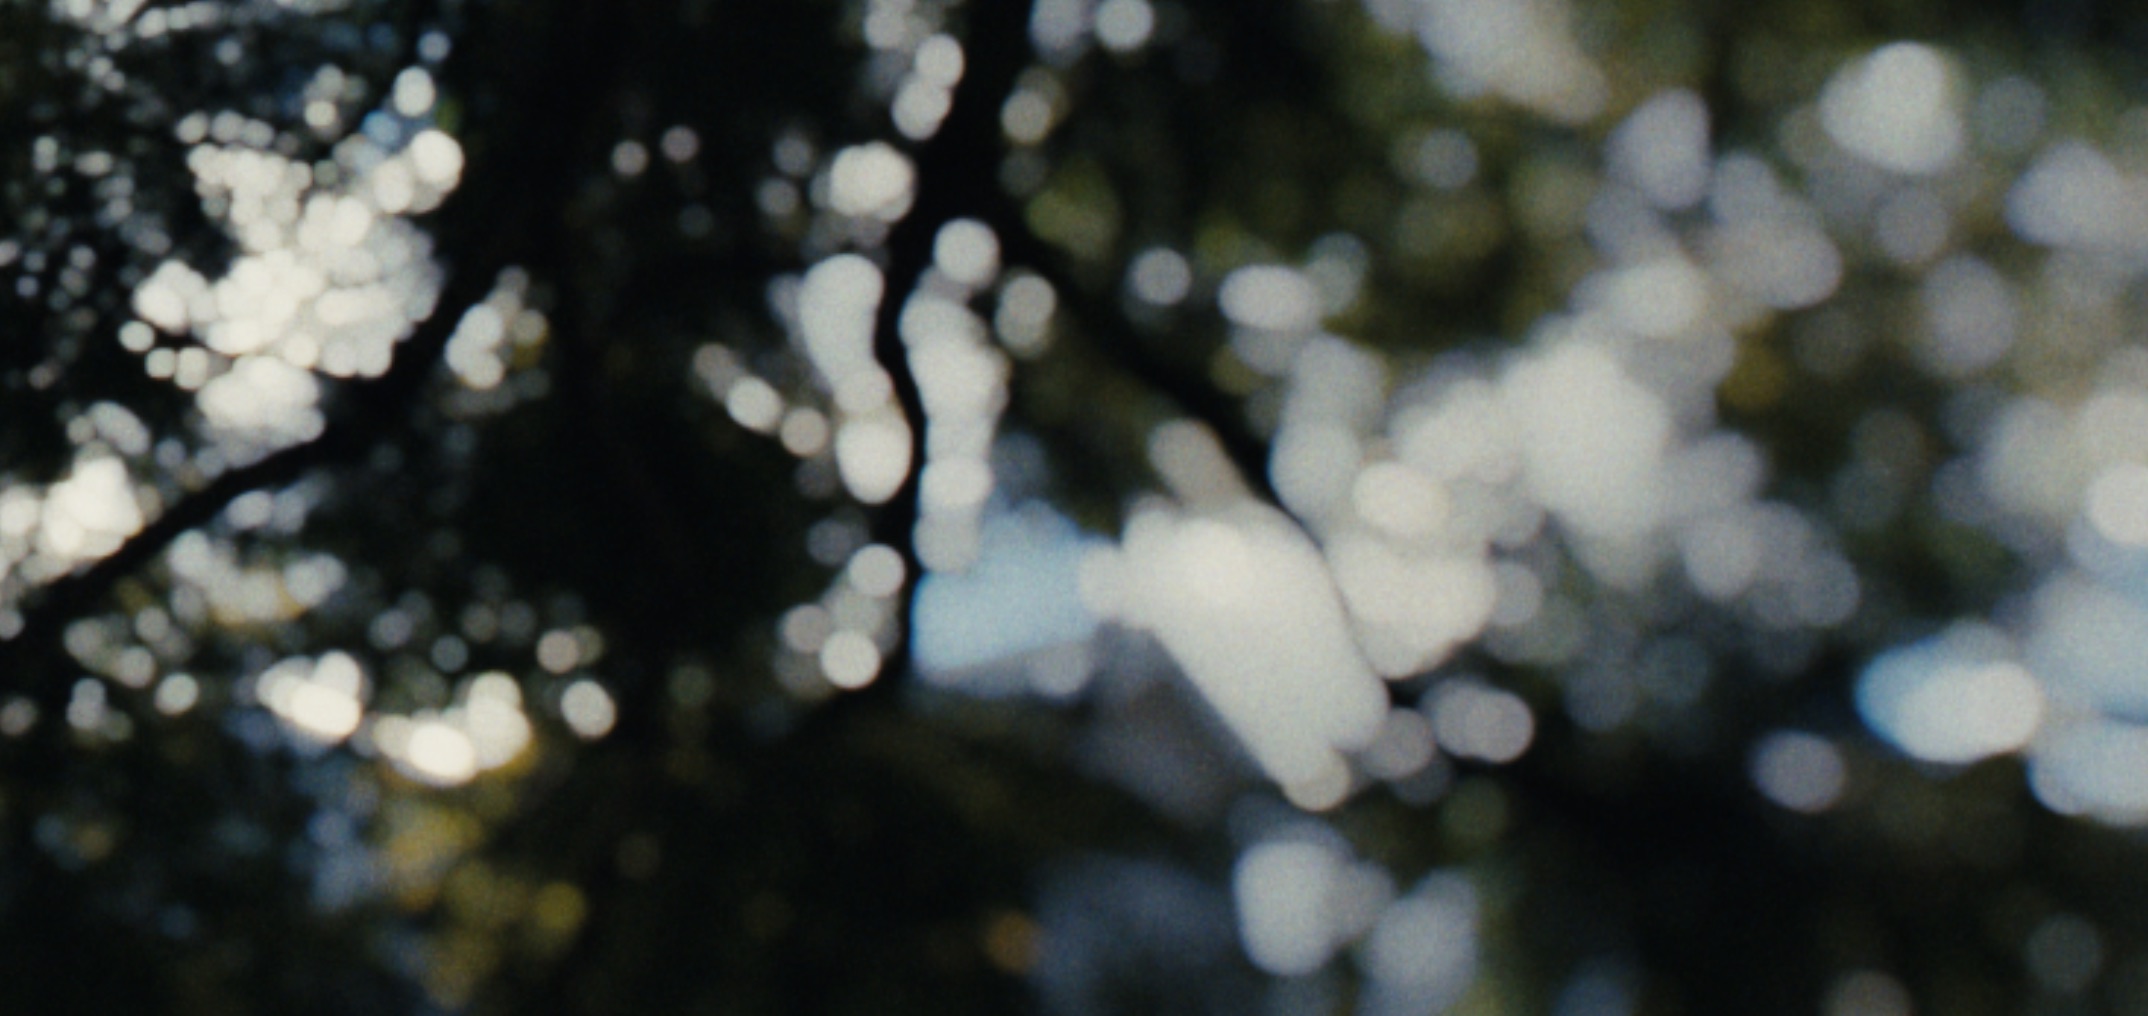
This setting increases the brightness and definition of the bokeh shapes rendered by LensNode. The effect is only visible if bokeh shapes are visible first, and only the highlights are affected. It is possible to push this setting too far and cause artifacts, so it’s recommended to be gentle with it.
Bokeh Boost / Depth Gain
This setting only affects the Bokeh Blur effect, and increasing it adds blur across the entire image. In DaVinci Resolve it’s called Bokeh Boost, until you supply LensNode with depth information, whereupon the setting title changes to Depth Gain. A connected depth map determines where the blur is applied and by how much. When in Depth Gain mode, increasing this setting will add blur based on the information in the depth map, instead of across the entire image.
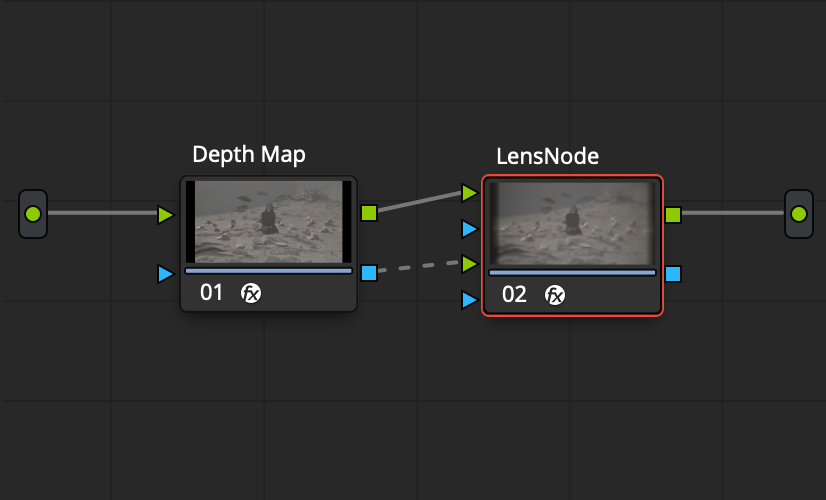
For depth information, any black and white map works. Resolve’s AI Depth Map node, a power window, a magic mask, or even your own pre-rendered depth map from a CG source. To supply the map, attach its alpha (blue) output to the second green input on LensNode.
Host differences: this behaves differently in Adobe and Final Cut Pro.
Bokeh Swirl
This effect can only be seen when LensNode is applying Bokeh Blur. It’s easiest to see when you overdrive the Bokeh Blur (to make it really obvious and visible) before applying the swirl effect. Bokeh Swirl squishes and stretches the bokeh shape from the current profile to make it look more swirly. If you start with a Bokeh Blur profile that is already swirly, it exaggerates the look. If you start with spherical bokeh, it introduces swirl. It can also be pushed in a negative direction to do the opposite and stretch the bokeh outwards.
MTF
Modulation Transfer Function controls allow users to increase or decrease the fine contrast of the image at low, medium and high frequencies to dial in a more nuanced sharpness or softness. The Master Gain is set to 0 by default, and this effect will not activate unless it is set to some value above 0. Once it is activated, it will still not modify the image until the three frequency controls are set to a non-zero value. They can each be pushed positively to a value of 1, or negatively to a value of -1. A positive value will add sharpness, and a negative value will make the image more soft. These controls are not changed by any of LensNode’s lens profiles, this is an additional tool for those that want to set their own specific sharpness parameters.
 Made in California