


Install and activate LensNode
- Sign in to your Video Village Account and find your LensNode license page.
- Download the Video Village Plugins app.
-
On the license page, select
Activate on this deviceto launch the Video Village Plugins app and install your license automatically. - In the Video Village Plugins app, select
Adobe, then selectInstall. (Premiere Pro and After Effects must not be running during installation.)
Add LensNode as an effect
Premiere Pro
- Choose
Window → Effectsto open the Effects panel. - Type
LensNodein the search field. - Drag LensNode onto a clip or an adjustment layer in the timeline.
- Select that clip or adjustment layer, then choose
Window → Effect Controlsto access the plugin controls.
After Effects
Open a composition. To affect several layers at once, choose Layer → New → Adjustment Layer and place it above the layers you want to affect. You can also apply LensNode directly to a footage layer.
- Choose
Window → Effects & Presetsand typeLensNodein the search field. - Drag LensNode from the search results onto the footage layer or adjustment layer in the Timeline panel.
- With that layer selected, use the
Effect Controlspanel to adjust the plugin. PressF3if the panel is hidden.
Keep LensNode after any technical input conversions and after any creative corrections, but before your conversion to your final output color space or film emulation.
Set your input color space
LensNode expects a scene-referred input. If your footage is camera log, set Input Color Space to the matching camera space. If another transform has already adapted the image into an intermediate working space, set Input Color Space to that space instead.
Pick a lens and shape the look
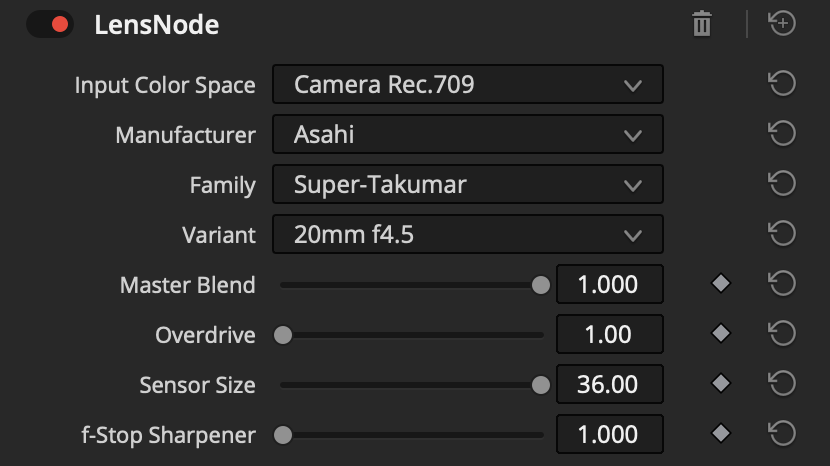
Pick a lens with the Manufacturer, Family, and Variant dropdowns, then shape the result with Master Blend and Overdrive, and refine each characteristic in Individual Controls. The full guide covers every parameter.
 Made in California