


Install and activate Mirage
- Sign in to your Video Village Account and find your Mirage license page.
- Download the Video Village Plugins app.
-
On the license page, select
Activate on this deviceto launch the Video Village Plugins app and install your license automatically. - In the Video Village Plugins app, select
OpenFX, then selectInstall. (DaVinci Resolve must not be running during installation.)
Add Mirage to a node
Launch Resolve. On the Color page, select a clip, open the Effects pane, and locate Mirage under OpenFX › Video Village. Drag Mirage onto a node in the node graph.
Place Mirage before the output transform or film emulation.
Quick Mirage Workflow
-
Set your input colour space
Set Input Color Space to match the image entering Mirage. If you have already converted to a working space, select that space. See Input Color Space.
-
Choose a preset
Try a bundled look from the Preset menu as a starting point. You can adjust the controls after loading it.
-
Adjust the effect
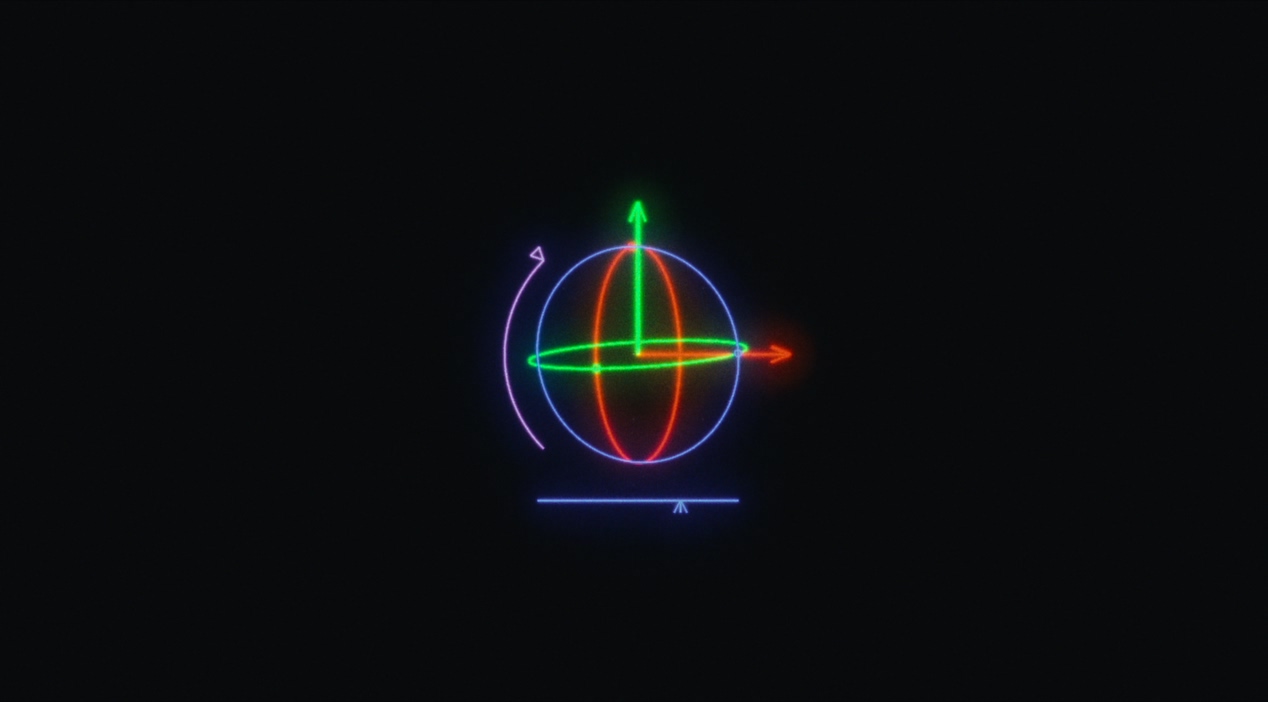
Play with the on-screen gizmo to move and rotate the glass, and see how it changes the effect. Fine-tune the look with these controls:
- Strength (IOR) sets the amount of refraction.
- Glass Depth sets the distance between the glass and the virtual camera.
- F-Stop sets the aperture. Lower values increase defocus.
- Focus Shift moves the focus closer or farther away.
-
Adjust quality and caching
Adjust Quality to find a balance between performance and fidelity that you’re happy with. Enabling Cache improves playback when you aren’t using animated movement. See Quality and Cache.
 Made in California