


Install and activate Mirage
- Sign in to your Video Village Account and find your Mirage license page.
- Download the Video Village Plugins app.
-
On the license page, select
Activate on this deviceto launch the Video Village Plugins app and install your license automatically. - In the Video Village Plugins app, select
Adobe, then selectInstall. (Premiere Pro and After Effects must not be running during installation.)
Add Mirage as an effect
In Premiere Pro, find Mirage in the Effects panel and drag it onto a clip or an adjustment layer. In After Effects, apply Mirage to a layer from the Effect menu.
Place Mirage before the output transform or film emulation.
Quick Mirage Workflow
-
Set your input colour space
Set Input Color Space to match the image entering Mirage. If you have already converted to a working space, select that space. See Input Color Space.
-
Choose a preset
Try a bundled look from the Preset menu as a starting point. You can adjust the controls after loading it.
-
Adjust the effect
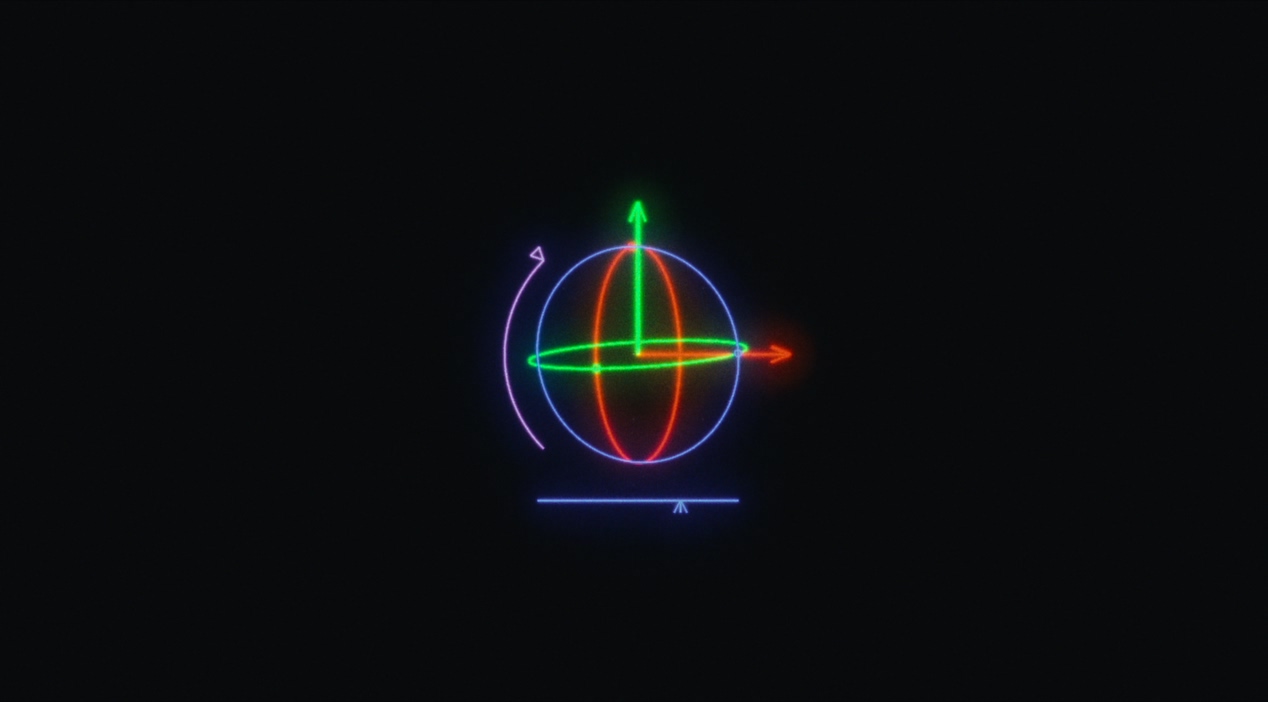
Play with the on-screen gizmo to move and rotate the glass, and see how it changes the effect. Fine-tune the look with these controls:
- Strength (IOR) sets the amount of refraction.
- Glass Depth sets the distance between the glass and the virtual camera.
- F-Stop sets the aperture. Lower values increase defocus.
- Focus Shift moves the focus closer or farther away.
-
Adjust quality and caching
Adjust Quality to find a balance between performance and fidelity that you’re happy with. Enabling Cache improves playback when you aren’t using animated movement. See Quality and Cache.
 Made in California