


Install and activate Filmbox Looks
- Sign in to your Video Village Account and find your Filmbox Looks license page.
- Download the Video Village Plugins app.
-
On the license page, select
Activate on this deviceto launch the Video Village Plugins app and install your license automatically. - In the Video Village Plugins app, select
OpenFX, then selectInstall. (DaVinci Resolve must not be running during installation.)
Color management
Filmbox Looks always outputs Rec.709 Gamma 2.4. Resolve 20 and later uses this colorspace by default. You should not have to change any color management settings to view or export the image correctly. For HDR or more advanced color management options check out Filmbox Pro.
Add Filmbox Looks to a node
- Open your project, go to the
Colorpage, and select a clip in the timeline. - Click
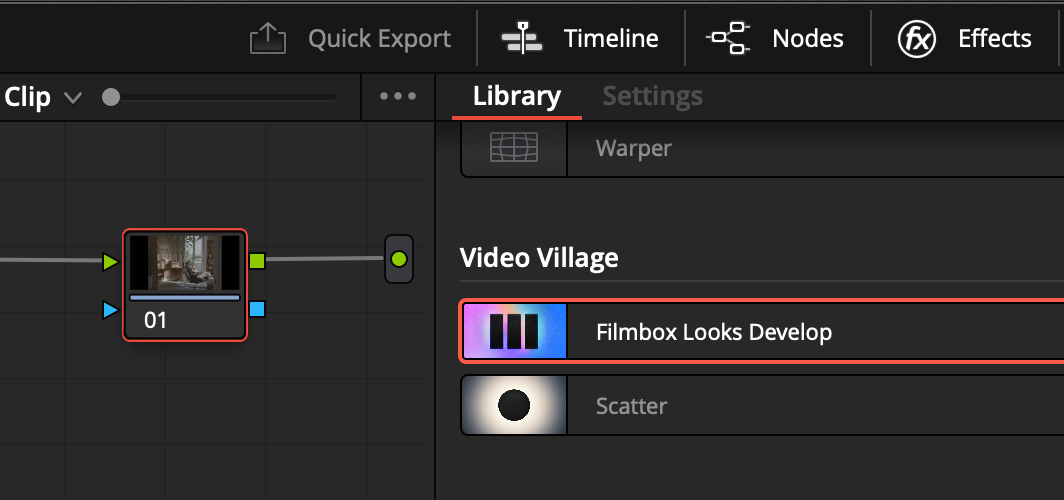
Effectsin the upper-right corner, then select theLibrarytab. - Find Filmbox Looks under Video Village. You can also type
Filmbox Looksin the library’s search field. - Drag Filmbox Looks onto an empty node in the node graph. Select that node and open the
Settingstab in the Effects pane to access the plugin controls.
Select your camera

Set Source in Filmbox to match the color space your footage was recorded in or the working space you have transformed it into.
-
If you are unsure what color space your footage is in, you can sometimes find it listed in the
Metadatapane on theMediapage. -
For RAW footage, you may need to configure Resolve’s
Camera RAWsettings to output clips in the camera’s log space rather than Rec.709. -
For graphics or clips that were not recorded in a log color space, you can set
Sourcein Filmbox to(Inaccurate) Rec.709 Gamma 2.4. This will be less accurate than working with scene-referred footage, but it may still produce a useful result.
Interface Tour
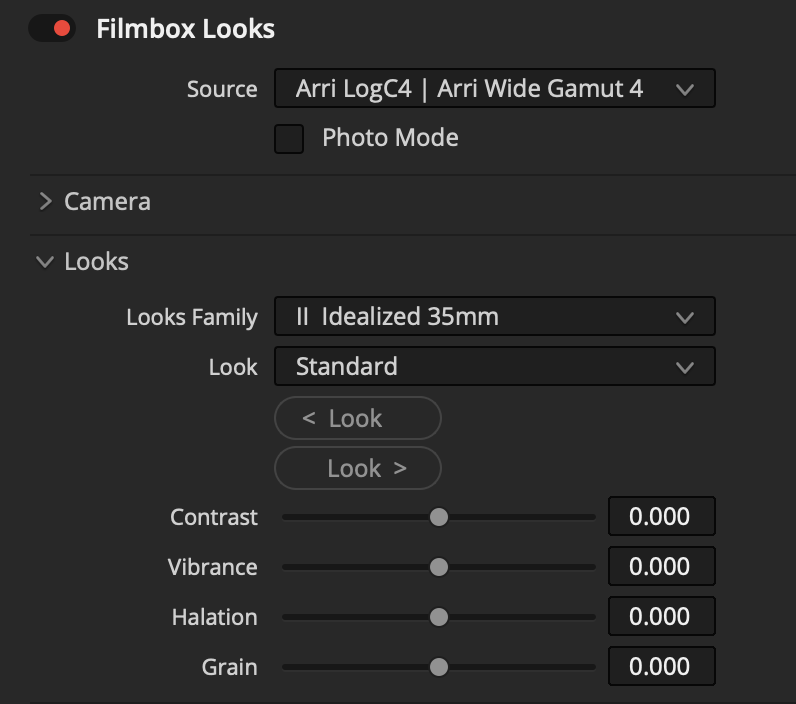
- Source: Select the colorspace your footage was recorded in.
- Photo Mode: Use Filmbox with Resolve’s still photography features.
- Camera: Adjust true Exposure, Temp, and Tint of the footage, just like on the camera.
- Looks: Select a Look from a Family of looks with similar characteristics.
- Look controls: Adjust basic characteristics of the selected look.
Looks Library
Looks are organized into Families that share core characteristics. “II” Families are general-purpose emulations ordered from cleanest to most filmic: grain, halation, gate weave, dust, and photochemical color character generally intensify as you move toward 8mm.
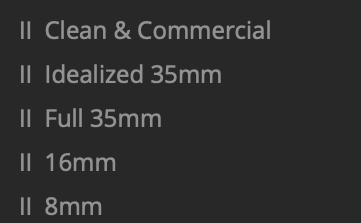
- Clean & Commercial: Neutral color with minimal grain and halation; no weave or dust.
- Idealized 35mm: Versatile film color with restrained grain and texture.
- Full 35mm: Authentic 35mm color, grain, halation, dust, and weave.
- 16mm: Gritty small-gauge texture with stronger grain, halation, and weave.
- 8mm: Nostalgic home-movie texture with heavy grain, halation, weave, dust, and flicker.
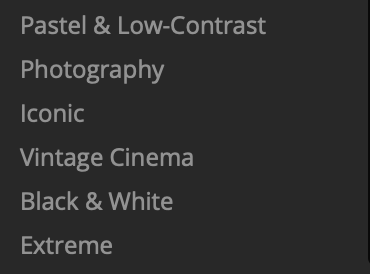
- Pastel & Low-Contrast: Soft, airy color with restrained contrast.
- Photography: Popular still-film negatives, including halation-heavy CineStill looks.
- Iconic: Homages to movies with distinctive visual identities.
- Vintage Cinema: Period looks based on older, often expired cinema stocks.
- Black & White: Monochrome looks with varied tone, grain, and texture.
- Extreme: Unconventional film looks that push color and style.
 Made in California