


Install and activate Filmbox Looks
- Sign in to your Video Village Account and find your Filmbox Looks license page.
- Download the Video Village Plugins app.
-
On the license page, select
Activate on this deviceto launch the Video Village Plugins app and install your license automatically. - In the Video Village Plugins app, select
Adobe, then selectInstall. (Premiere Pro and After Effects must not be running during installation.)
Color management
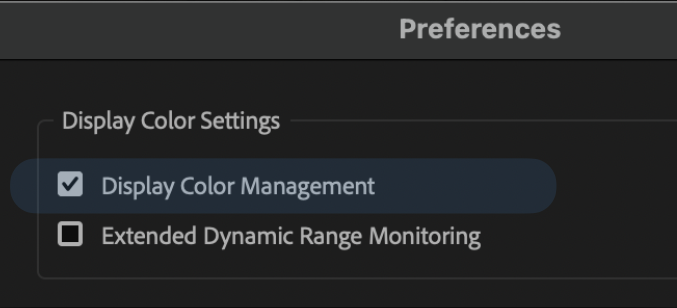
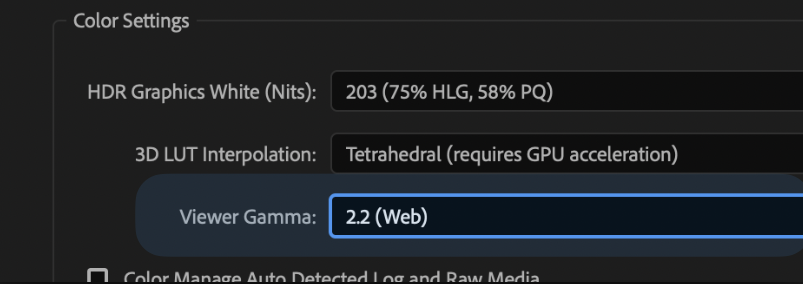
In Premiere, it is typically necessary to enable Display Color Management under Premiere Pro › Settings › Color. We also recommend changing Viewer Gamma to 2.2 (Web) under File › Project Settings › Color to mitigate viewer inaccuracies.
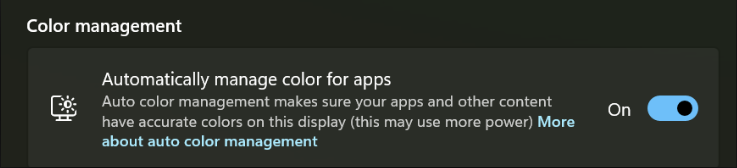
On Windows 11, enable Automatically manage color for apps under Settings › System › Display › Color Management.
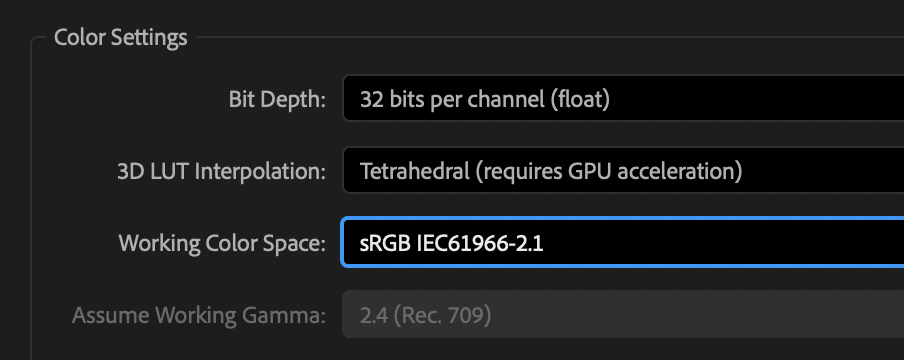
In After Effects, set Working Color Space to sRGB IEC61966-2.1 under File › Project Settings › Color.
Add Filmbox Looks to an adjustment layer
Premiere Pro
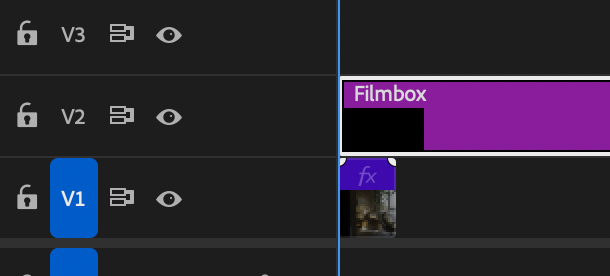
We recommend applying Filmbox Looks to an adjustment layer above your clips. Choose File → New → Adjustment Layer, click OK, then drag the new layer from the Project panel onto a video track above your footage. Extend it to cover the clips you want to affect.
- Choose
Window → Effectsto open the Effects panel. - Type
Filmbox Looksin the search field, or browseVideo Effects → Video Village. - Drag Filmbox Looks onto the adjustment layer in the timeline.
- Select the adjustment layer, then choose
Window → Effect Controlsto access the plugin controls.
Filmbox Looks can also be applied directly to a clip. Premiere will then render it at the clip’s native resolution instead of the timeline resolution, which may reduce performance and texture quality.
After Effects
Open a composition. To affect several layers at once, choose Layer → New → Adjustment Layer and place it above the layers you want to affect. You can also apply Filmbox Looks directly to a footage layer.
- Choose
Window → Effects & Presetsand typeFilmbox Looksin the search field. - Drag Filmbox Looks from the search results onto the footage layer or adjustment layer in the Timeline panel.
- With that layer selected, use the
Effect Controlspanel to adjust the plugin. PressF3if the panel is hidden.
Select your camera

Set Source in Filmbox to match the color space your footage was recorded in or the working space you have transformed it into.
- For graphics or clips that were not recorded in a log color space, you can set
Sourcein Filmbox to(Inaccurate) Rec.709 Gamma 2.4. This will be less accurate than working with scene-referred footage, but it may still produce a useful result.
Interface Tour
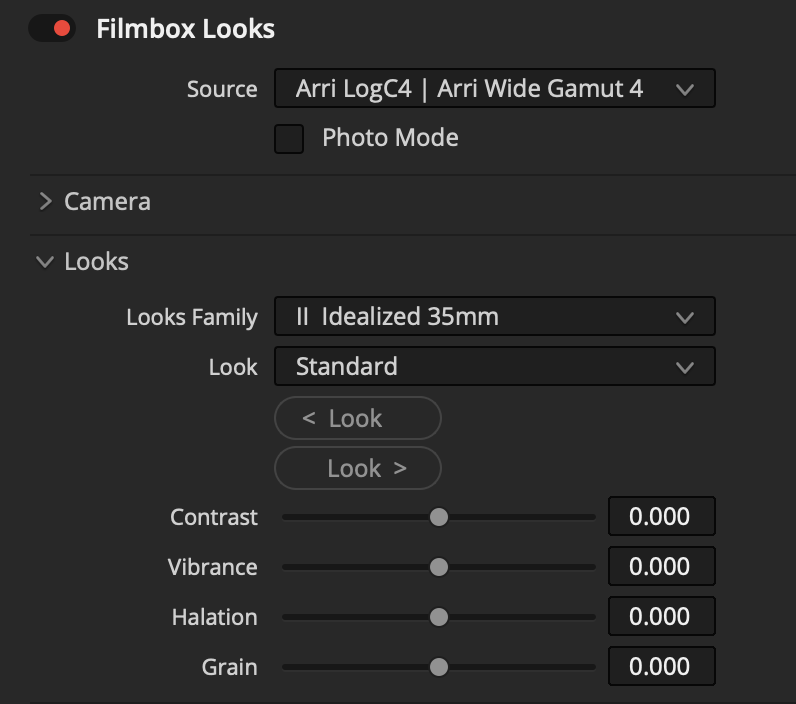
- Source: Select the colorspace your footage was recorded in.
- Camera: Adjust true Exposure, Temp, and Tint of the footage, just like on the camera.
- Looks: Select a Look from a Family of looks with similar characteristics.
- Look controls: Adjust basic characteristics of the selected look.
Looks Library
Looks are organized into Families that share core characteristics. “II” Families are general-purpose emulations ordered from cleanest to most filmic: grain, halation, gate weave, dust, and photochemical color character generally intensify as you move toward 8mm.
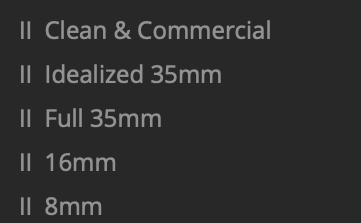
- Clean & Commercial: Neutral color with minimal grain and halation; no weave or dust.
- Idealized 35mm: Versatile film color with restrained grain and texture.
- Full 35mm: Authentic 35mm color, grain, halation, dust, and weave.
- 16mm: Gritty small-gauge texture with stronger grain, halation, and weave.
- 8mm: Nostalgic home-movie texture with heavy grain, halation, weave, dust, and flicker.
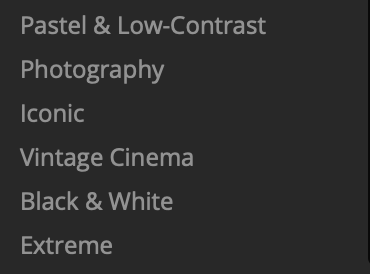
- Pastel & Low-Contrast: Soft, airy color with restrained contrast.
- Photography: Popular still-film negatives, including halation-heavy CineStill looks.
- Iconic: Homages to movies with distinctive visual identities.
- Vintage Cinema: Period looks based on older, often expired cinema stocks.
- Black & White: Monochrome looks with varied tone, grain, and texture.
- Extreme: Unconventional film looks that push color and style.
 Made in California