


Install and activate Scatter
- Sign in to your Video Village Account and find your Scatter license page.
- Download the Video Village Plugins app.
-
On the license page, select
Activate on this deviceto launch the Video Village Plugins app and install your license automatically. - In the Video Village Plugins app, select
OpenFX, then selectInstall. (DaVinci Resolve must not be running during installation.)
Color management
In Resolve 20 or later, the default color settings are appropriate for typical SDR workflows on most systems.
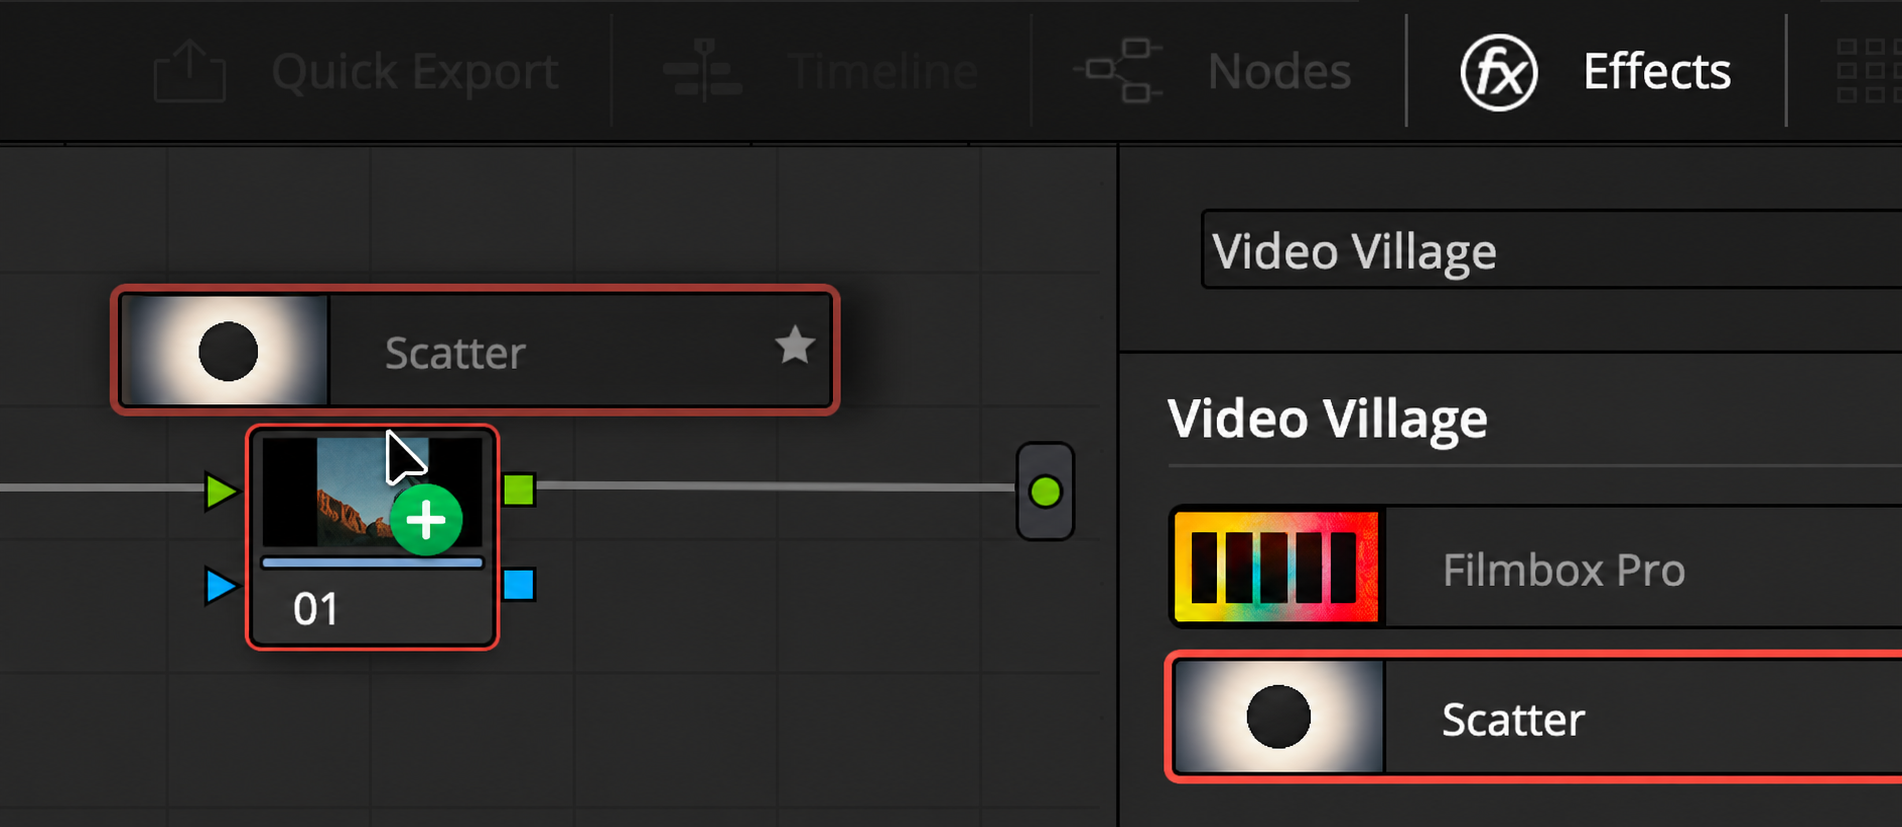
Add Scatter to a node
- Open your project, go to the
Colorpage, and select a clip in the timeline. - Click
Effectsin the upper-right corner, then select theLibrarytab. - Find Scatter under Video Village. You can also type
Scatterin the library’s search field. - Drag Scatter onto an empty node in the node graph. Select that node and open the
Settingstab in the Effects pane to access the plugin controls.
Select your camera

Set Source in Scatter to match the native log color space of your footage or the scene-referred working space you have transformed it into.
- If you are unsure what color space your footage is in, you can sometimes find it listed in the
Metadatapane on theMediapage. - For RAW footage, you may need to configure Resolve’s
Camera RAWsettings to output clips in the camera’s log space rather than Rec.709. - For graphics or clips that were not recorded in a log color space, set
Sourceto(Inaccurate) Gamma 2.4. This may produce a useful approximation, but will be less accurate than with scene-referred footage.
Interface Tour
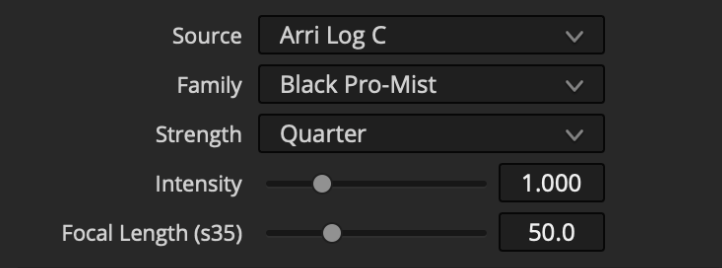
Source: Choose the colorspace of your “log” or “scene-referred” footage or working space.
Family and Strength: Select the family of profiled filters, then select the strength of the selected filter family.
Intensity: Amplify or reduce the effect of the active filter.
Focal Length: Reduce or enlarge the falloff to approximate other fields of view, expressed in millimeters of focal length on s35mm.
Highlight Color Recovery: Rebuild color information in blown-out highlight regions by considering the hue of neighboring pixels so diffusion can be calculated more naturally.
Highlight Adjustment: Amplify or reduce diffused highlights either for creative effect or to compensate for clipped highlights that should be brighter than what the sensor was able to record.
Edge: Select Vignette, Mirrored, or Repeated to determine how Scatter extrapolates beyond image bounds.
 Made in California